
The Ultimate Guide to Self-Taping
- Laine MacNeil

- Dec 21, 2021
- 3 min read
Self-taping is here to stay, so actors need to learn how to be able to put their best foot forward with their audition tapes. You’ll find important tips for auditioning as well as great products to invest in to make your tape as professional as possible. This guide is for EVERYBODY, no matter what your skill level or experience auditioning!
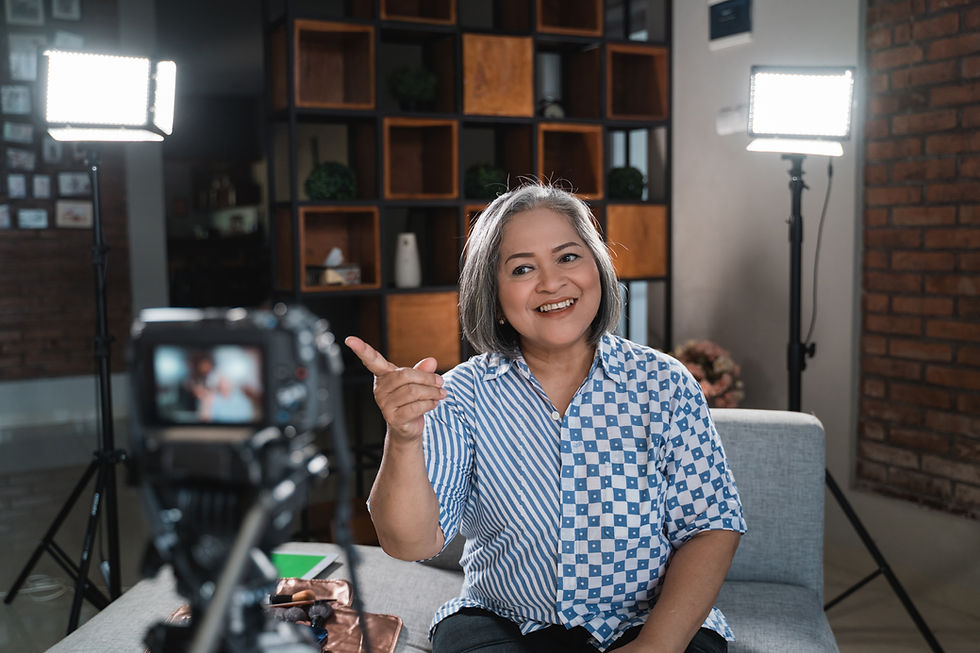
I’ve been a professional actor for over 15 years, auditioning both in the room and by self-tape. I love meeting with casting directors and getting direct feedback in real time, and I used to HATE self-taping. However, with a lot of trial and error, taping my auditions from home is now one of my favourite things to do! Don’t worry, I’ll tell you how to love it down below...
Why is everybody obsessed with self-taping?
Now that we are living in a totally different world (thanks Covid), casting directors are deciding to stick with self-taped auditions mainly because it saves them money and a lot of time! In a this gives actors advantages when it comes to auditioning…
More wiggle-room with your schedule – no need to reschedule your entire day because you have an audition, you can tape whenever you want!
More takes – there’s less anxiety when you take away the casting room, especially if you’re new! You can take your time and get to work the scene until you get it right!
More experimenting – you can try different audition looks and see what they look like on camera.
Just to name a few
Here are some self-taping practices to remember and even some things to buy yourself for Christmas!
Practice #1: Read the WHOLE email!
When you get an audition request, us actors immediately look at the number of pages we have to memorize! It’s important that you look at everything you’ve been sent, casting sent you all those details for a reason! Casting will often leave framing instructions, labelling requirements, and even acting notes: if you miss or ignore these instructions, it looks unprofessional. You want your tape to stand out for the right reasons, and that can be by simply following instructions.
If you ever have questions about framing and slating and it’s not in the email, ask your agent!
Practice #2: Eye lines: Where do you look?
Let’s say you get a scene where you have to sit beside the other character on a bench. In real life, you would turn your head towards the person. But auditioning has a different set of rules…
Shift your eye line (where you look for the other character) near the camera you’re recording on. This will keep your line of vision visible to camera. If you turn your head profile to camera, we miss your whole performance!
Practice #3: Have a “Proof-Watcher” before you submit

Have someone watch it before you submit the tape to your agent or casting. The same way writers get other people to proofread their work, we need another eye to watch our tapes. Sometimes after a long taping session, we can get a little heady about the scene, so your reader or your coach should watch it back with an outside perspective. It's also important to look for tech mistakes like a shaky frame or sound issues!
Speaking of Tech, last week's blog post has a list of products that I HIGHLY recommend actors invest a little money into, not only to make your tapes stronger, but to take some of the stress away from auditioning at home!
Don’t be shy. You may have more questions after reading (or in the future). Feel free to leave questions and comments below!
Looking for a coach? The Drama Class has great instructors that can coach either in-person or via zoom! Click here for info.
For more tips and tricks, check out www.TheDramaClass.com !
FOLLOW US:


Comments